Label: Difference between revisions
No edit summary |
Kyleroberts (talk | contribs) m (→Examples) |
||
| (22 intermediate revisions by 10 users not shown) | |||
| Line 1: | Line 1: | ||
[[Image: | [[Image:Pl.png|right|500px]] | ||
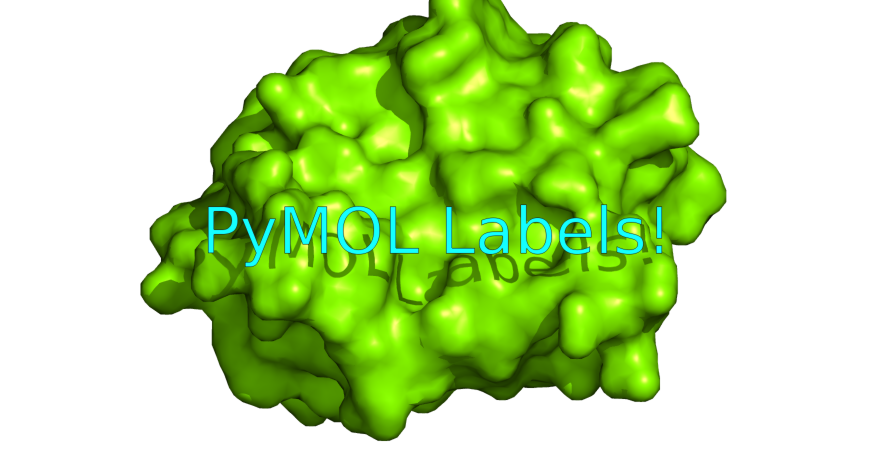
The [[Label]] command controls how PyMOL draws text labels for PyMOL objects. | |||
= Details = | |||
Labeling is important so there are many options for your fine tuning needs. You can change the [[Label_size|label size]], [[Label_color|label color]], positioning, [[Label_font_id|font]], the [[Label_outline_color|label outline color]] that masks the font and much, much more. | |||
You can have PyMOL label atoms by properties or arbitrary strings as you want; you can even use Unicode fonts for special symbols like, <math>\alpha, \beta, \pm, \textrm{\AA}</math>, etc. | |||
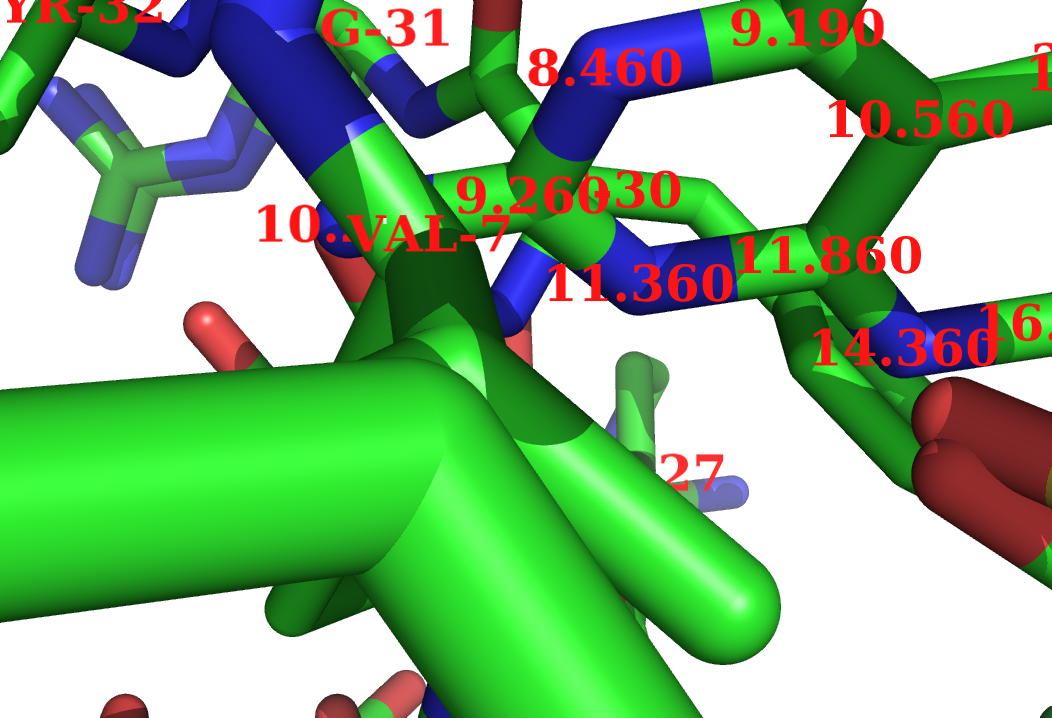
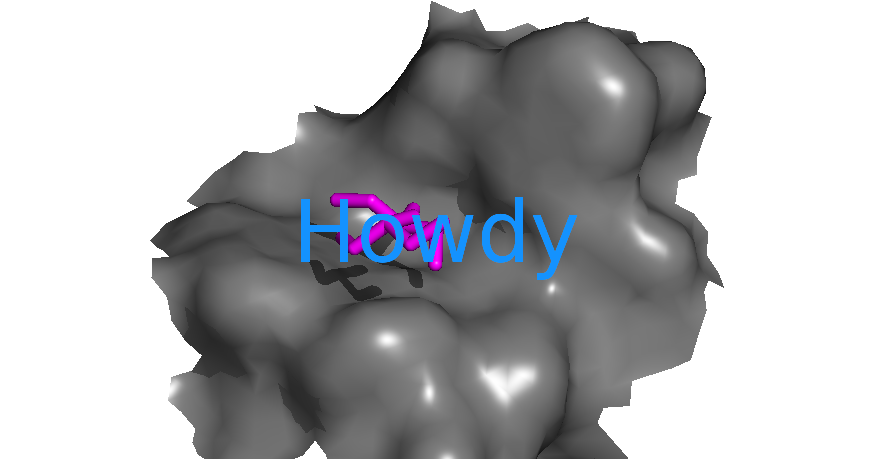
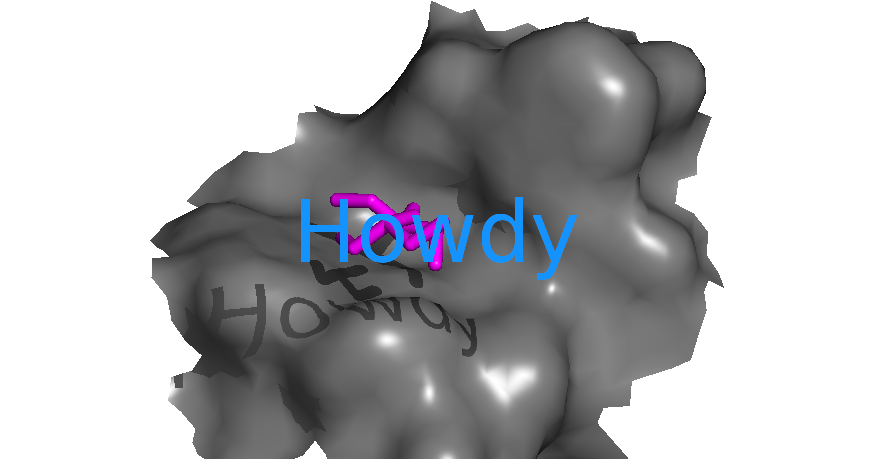
The following gallery shows some examples of how extensible the [[Label]] command is. | |||
<gallery heights="180px" widths="200px" align="center" perrow="3"> | |||
Image:Label_pre.png|Simple label | |||
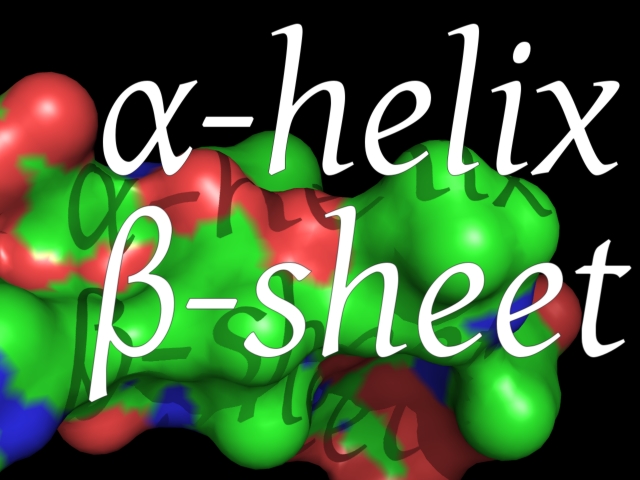
Image:New_fonts.jpeg|Example showing usage of Unicode fonts for special characters, see [[label_font_id]]. | |||
Image:Font_ex.png|Another example with Unicode fonts | |||
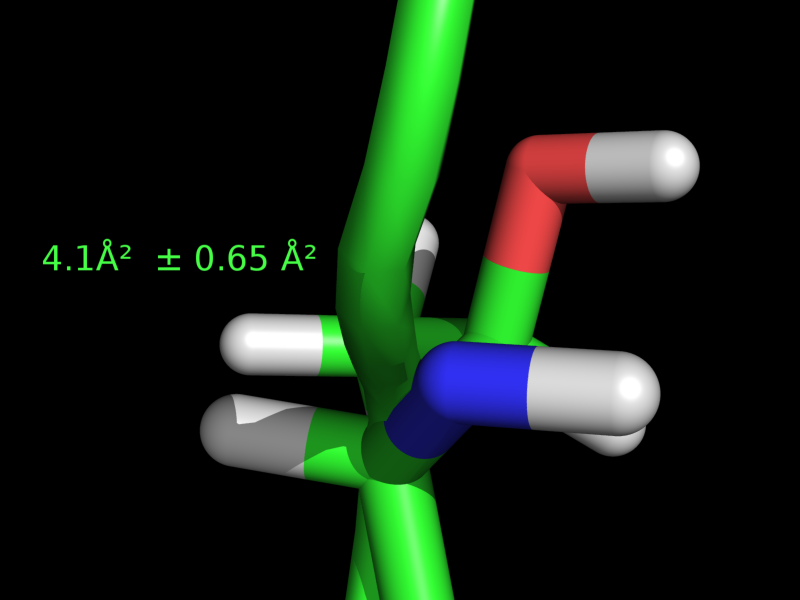
Image:Label_ex.png|Example label | |||
Image:Ls0.png|Label shadows turned off | |||
Image:Ls2.png|Label shadows turned on | |||
</gallery> | |||
==Built-in Object Properties== | |||
Aside from arbitrary string labels, like "This is the catalytic residue" for an atom/residue you can also use the following built-in molecular properties: | |||
* '''name''', the atom name | * '''name''', the atom name | ||
* '''resn''', the residue name | * '''resn''', the residue name | ||
*'''resi''', the residue number/identifier | *'''resi''', the residue number/identifier | ||
*'''chain''', the chain name | *'''chain''', the chain name | ||
*'''q''', | *'''q''', charge | ||
*'''b''', the occupancy/b-factor | *'''b''', the occupancy/b-factor | ||
*'''segi''', the segment identifier | *'''segi''', the segment identifier | ||
| Line 15: | Line 33: | ||
*'''text_type''', the text type | *'''text_type''', the text type | ||
You can use one of these properties as: | |||
<source lang="python"> | |||
# simple example: label residue 22's atoms with their names | |||
label i. 22, name | |||
# Label residue #44's alpha carbon with it's residue name, residue number and B-factor. | |||
label n. CA and i. 44, "(%s, %s, %s)" % (resn, resi, b) | |||
</source> | |||
See the syntax and examples below for more info. | |||
= | =Syntax= | ||
To use the label command follow this syntax: | |||
<source lang="python"> | |||
<source lang="python"> | # labeling syntax | ||
where | label [ selection[, expression]] | ||
</source> | |||
where '''selection''' is some object/selection you want to label and '''expression''' is some string (or set of strings) which PyMOL is to use to label the given selection. | |||
[[ | We have plenty of examples. See [[#Examples|the examples]] below. | ||
=Settings= | |||
Here are all the label settings and their general effect. For each label setting, see the respective web page for more details. | |||
'''[[label_angle_digits]]''' | |||
:: sets the number of decimals in angle label. | |||
'''[[label_distance_digits]]''' | |||
:: sets the number of decimals in distance label. | |||
'''[[label_shadow_mode]]''' | |||
:: sets whether or not PyMOL will ray trace shadows for your label text. Eg: <source lang="python">set label_shadow_mode, 2</source> | |||
'''[[label_color]]''' | |||
:: sets the color of the label text. Note that you can have labels of different colors for different objects or selections. Some examples: | |||
<source lang="python"> | <source lang="python"> | ||
# | # per-object: | ||
set label_color, color-name, object-name #eg, set label-color, magenta, /protein | |||
set | |||
# | |||
set | |||
# per-atom: | |||
set label_color, color-name, selection #eg, set label-color, marine, /protein/A/A/23/CA | |||
# another example | |||
fragment arg | |||
label all, name | |||
set label_color, yellow, arg | |||
set label_color, red, elem c | |||
</source> | </source> | ||
= | '''[[label_font_id]]''' | ||
:: sets the font to render your label. There are 12 different fonts from 5—16. Numbers 15 and 16 are special for unicode. Eg: <source lang="python">set label_font_id, 12</source>. See the [[label_font_id]] page for explicit examples on how to use unicode characters in PyMOL labels. | |||
<source lang="python">set label_size, | '''[[label_size]]''' | ||
:: sets the size of the text. You can use positive numbers 2, 3, 4, etc for point sizes, or negative numbers for Angstrom-based sizes. Default is 14 points. Labels in Angstrom-size scale with the distance from the front plane, labels in point-size don't. Eg: <source lang="python">set label_size, -2 #results in a size of 2 Angstroms</source> | |||
'''[[label_digits]]''' | |||
:: sets the number of decimals in label. It affects all digits only if label_distance_digits or label_dihedral_digits or label_angle_digits are set to -1. | |||
'''[[label_outline_color]]''' | |||
:: each label is outlined (so you can do white-on-white labels, for example). This options sets the color of the label outline. Eg. <source lang="python">set label_outline_color, orange</source> | |||
'''[[label_dihedral_digits]]''' | |||
:: sets the number of decimals in dihedral label. | |||
'''[[label_position]]''' | |||
:: sets any offset from the original X,Y,Z coordinates for the label. If you like to use the mouse, you can enter [[edit_mode]] and '''ctrl-left_click''' to drag labels around; '''ctrl-shift-left_click''' will let you move the labels in the z-direction. '''"Save labels"-workaround''' If you want to save the position of your labels, the best way might be to create a new object and move the atoms in this object. Since the labels are positioned from the atom positions this is an indirect way of moving the labels and being able to save them. | |||
== | =Examples= | ||
<source lang="python"> | <source lang="python"> | ||
#1. | |||
# make a very simple label on the 14th alpha carbon. | |||
label n. CA and i. 14, "This is carbon 14." | |||
#2. | |||
# make a fake scene label; use this to label entire scenes, not just atoms/bonds. | |||
pseudoatom foo | |||
label foo, "Once upon a time..." | |||
#3. | |||
# make a huge label | |||
set label_size, -5 | |||
pseudoatom foo | |||
label foo, "This is large text" | |||
#4. Partial Charge | |||
label (chain A),chain | label (chain A),chain | ||
label (n;ca),"%s-%s" % (resn,resi) | label (n;ca),"%s-%s" % (resn,resi) | ||
label (resi 200),"%1.3f" % partial_charge | label (resi 200),"%1.3f" % partial_charge | ||
The | #5. The gallery image above Label_ex.png was created with this code | ||
# and finally, some labels were moved around in '''edit_mode'''. | |||
label (resi 200),"%1.3f" % b | label (resi 200),"%1.3f" % b | ||
set label_font_id, 10 | set label_font_id, 10 | ||
set label_size, 10 | set label_size, 10 | ||
#6. This example shows how to label a selection with the | |||
# XYZ coordinates of the atoms | |||
This example shows how to label a selection with the XYZ coordinates of the atoms | |||
from pymol import stored | from pymol import stored | ||
stored.pos = [] | stored.pos = [] | ||
# select the carbon atoms in my hetero atoms to label | # select the carbon atoms in my hetero atoms to label | ||
select nn, het and e. C | select nn, het and e. C | ||
# get the XYZ coordinates and put them into stored.pos | |||
# get the XYZ coordinates and put | # insert at the front because pop() will read the array in reverse | ||
iterate_state 1, (nn), stored.pos. | iterate_state 1, (nn), stored.pos.insert(0,(x,y,z)) | ||
# label all N atoms. You need the pop() function or else | # label all N atoms. You need the pop() function or else | ||
# PyMOL will complain b/c you didn't provide enough coords. | # PyMOL will complain b/c you didn't provide enough coords. | ||
| Line 122: | Line 135: | ||
</source> | </source> | ||
= | = User Comments = | ||
==Labels Using ID Numbers== | |||
The following commnent, | The following commnent, | ||
<source lang="python"> | |||
label SELECTION, " %s" % ID | |||
</source> | |||
labels the SELECTION with atom ID numbers. | labels the SELECTION with atom ID numbers. | ||
You can make more complicated selections/lables such as | You can make more complicated selections/lables such as | ||
<source lang="python"> | |||
label SELECTION, " %s:%s %s" % (resi, resn, name) | |||
</source> | |||
which will give you something like "GLU:139 CG" | which will give you something like "GLU:139 CG" | ||
==Labels Using One Letter Abbreviations== | |||
* First, Add this to your $HOME/.pymolrc file: | * First, Add this to your $HOME/.pymolrc file: | ||
<source lang="python"> | <source lang="python"> | ||
| Line 143: | Line 160: | ||
</source> | </source> | ||
* | * Second, instead of: | ||
<source lang="python"> | |||
label n. ca, resn | |||
</source> | |||
use: | use: | ||
<source lang="python"> | |||
label n. ca, one_letter[resn] | |||
</source> | |||
or: ( to get something like D85) | |||
<source lang="python"> | |||
label n. ca, "%s%s" %(one_letter[resn],resi) | |||
</source> | |||
==Labels and defer_builds_mode== | |||
If You have a weak video card, You might want to set | |||
<source lang="python"> | |||
set defer_builds_mode, 5 | |||
</source> | |||
It helps a lot but breaks labels rendering. You can use | |||
<source lang="python"> | |||
set defer_builds_mode, 4 | |||
</source> | |||
instead. | |||
=See Also= | |||
[[:Category:Labeling]] | |||
All the settings posted above. | |||
[[Category: | [[Category:Labeling|Label]] | ||
[[Category: | [[Category:Commands|Label]] | ||
Latest revision as of 19:09, 23 January 2017
The Label command controls how PyMOL draws text labels for PyMOL objects.
Details
Labeling is important so there are many options for your fine tuning needs. You can change the label size, label color, positioning, font, the label outline color that masks the font and much, much more.
You can have PyMOL label atoms by properties or arbitrary strings as you want; you can even use Unicode fonts for special symbols like, , etc.
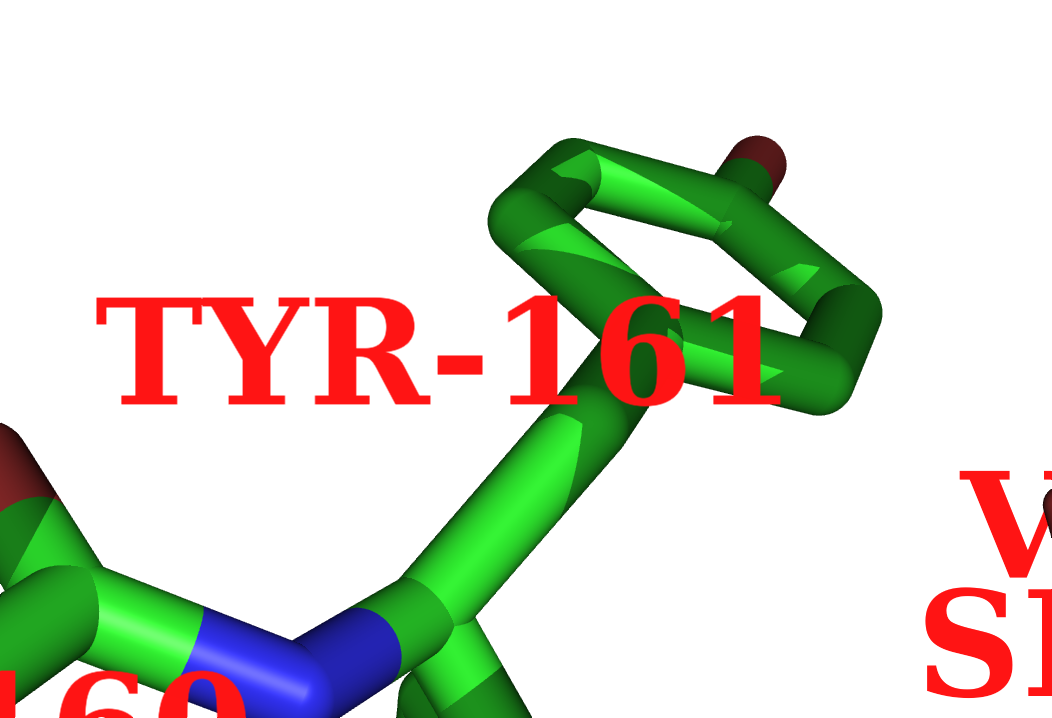
The following gallery shows some examples of how extensible the Label command is.
Example showing usage of Unicode fonts for special characters, see label_font_id.
Built-in Object Properties
Aside from arbitrary string labels, like "This is the catalytic residue" for an atom/residue you can also use the following built-in molecular properties:
- name, the atom name
- resn, the residue name
- resi, the residue number/identifier
- chain, the chain name
- q, charge
- b, the occupancy/b-factor
- segi, the segment identifier
- type (ATOM,HETATM), the type of atom
- formal_charge, the formal charge
- partial_charge, the partial charge
- numeric_type, the numeric type
- text_type, the text type
You can use one of these properties as:
# simple example: label residue 22's atoms with their names
label i. 22, name

# Label residue #44's alpha carbon with it's residue name, residue number and B-factor.
label n. CA and i. 44, "(%s, %s, %s)" % (resn, resi, b)
See the syntax and examples below for more info.
Syntax
To use the label command follow this syntax:
# labeling syntax
label [ selection[, expression]]
where selection is some object/selection you want to label and expression is some string (or set of strings) which PyMOL is to use to label the given selection.
We have plenty of examples. See the examples below.
Settings
Here are all the label settings and their general effect. For each label setting, see the respective web page for more details.
- sets the number of decimals in angle label.
- sets the number of decimals in distance label.
- sets whether or not PyMOL will ray trace shadows for your label text. Eg:
set label_shadow_mode, 2
- sets whether or not PyMOL will ray trace shadows for your label text. Eg:
- sets the color of the label text. Note that you can have labels of different colors for different objects or selections. Some examples:
# per-object:
set label_color, color-name, object-name  #eg, set label-color, magenta, /protein

# per-atom:
set label_color, color-name, selection    #eg, set label-color, marine, /protein/A/A/23/CA

# another example
fragment arg
label all, name
set label_color, yellow, arg
set label_color, red, elem c
- sets the font to render your label. There are 12 different fonts from 5—16. Numbers 15 and 16 are special for unicode. Eg: . See the label_font_id page for explicit examples on how to use unicode characters in PyMOL labels.
set label_font_id, 12
- sets the font to render your label. There are 12 different fonts from 5—16. Numbers 15 and 16 are special for unicode. Eg:
- sets the size of the text. You can use positive numbers 2, 3, 4, etc for point sizes, or negative numbers for Angstrom-based sizes. Default is 14 points. Labels in Angstrom-size scale with the distance from the front plane, labels in point-size don't. Eg:
set label_size, -2 #results in a size of 2 Angstroms
- sets the size of the text. You can use positive numbers 2, 3, 4, etc for point sizes, or negative numbers for Angstrom-based sizes. Default is 14 points. Labels in Angstrom-size scale with the distance from the front plane, labels in point-size don't. Eg:
- sets the number of decimals in label. It affects all digits only if label_distance_digits or label_dihedral_digits or label_angle_digits are set to -1.
- each label is outlined (so you can do white-on-white labels, for example). This options sets the color of the label outline. Eg.
set label_outline_color, orange
- each label is outlined (so you can do white-on-white labels, for example). This options sets the color of the label outline. Eg.
- sets the number of decimals in dihedral label.
- sets any offset from the original X,Y,Z coordinates for the label. If you like to use the mouse, you can enter edit_mode and ctrl-left_click to drag labels around; ctrl-shift-left_click will let you move the labels in the z-direction. "Save labels"-workaround If you want to save the position of your labels, the best way might be to create a new object and move the atoms in this object. Since the labels are positioned from the atom positions this is an indirect way of moving the labels and being able to save them.
Examples
#1.
# make a very simple label on the 14th alpha carbon.
label n. CA and i. 14, "This is carbon 14."

#2.
# make a fake scene label; use this to label entire scenes, not just atoms/bonds.
pseudoatom foo
label foo, "Once upon a time..."

#3.
# make a huge label
set label_size, -5
pseudoatom foo
label foo, "This is large text"

#4. Partial Charge
label (chain A),chain
label (n;ca),"%s-%s" % (resn,resi)
label (resi 200),"%1.3f" % partial_charge


#5. The gallery image above Label_ex.png was created with this code
#   and finally, some labels were moved around in '''edit_mode'''.
label (resi 200),"%1.3f" % b
set label_font_id, 10
set label_size, 10

#6. This example shows how to label a selection with the
#   XYZ coordinates of the atoms
from pymol import stored
stored.pos = []
# select the carbon atoms in my hetero atoms to label
select nn, het and e. C
# get the XYZ coordinates and put them into stored.pos
# insert at the front because pop() will read the array in reverse
iterate_state 1, (nn), stored.pos.insert(0,(x,y,z))
# label all N atoms.  You need the pop() function or else
# PyMOL will complain b/c you didn't provide enough coords.
label nn, ("%5.5s, %5.5s, %5.5s") %  stored.pos.pop()
User Comments
Labels Using ID Numbers
The following commnent,
label SELECTION, " %s" % ID
labels the SELECTION with atom ID numbers.
You can make more complicated selections/lables such as
label SELECTION, " %s:%s %s" % (resi, resn, name)
which will give you something like "GLU:139 CG"
Labels Using One Letter Abbreviations
- First, Add this to your $HOME/.pymolrc file:
# start $HOME/.pymolrc modification
one_letter ={'VAL':'V', 'ILE':'I', 'LEU':'L', 'GLU':'E', 'GLN':'Q', \
'ASP':'D', 'ASN':'N', 'HIS':'H', 'TRP':'W', 'PHE':'F', 'TYR':'Y',    \
'ARG':'R', 'LYS':'K', 'SER':'S', 'THR':'T', 'MET':'M', 'ALA':'A',    \
'GLY':'G', 'PRO':'P', 'CYS':'C'}
# end modification
- Second, instead of:
label n. ca, resn
use:
label n. ca, one_letter[resn]
or: ( to get something like D85)
label n. ca, "%s%s" %(one_letter[resn],resi)
Labels and defer_builds_mode
If You have a weak video card, You might want to set
set defer_builds_mode, 5
It helps a lot but breaks labels rendering. You can use
set defer_builds_mode, 4
instead.
See Also
All the settings posted above.
