Blender
Introduction
An attempt at using Blender, an open-source, free, 3D modeling software to render, pose and animate objects exported from Pymol.
Blender may be downloaded freely for all major platforms (Win/Mac/Linux), from: http://www.blender.org/download/get-blender/
Examples
Representative examples. Please change/improve.
1. Translucent Surfaces
High quality translucent surfaces, better than PyMOL's internal renderer/ray-tracer.
- Step 1
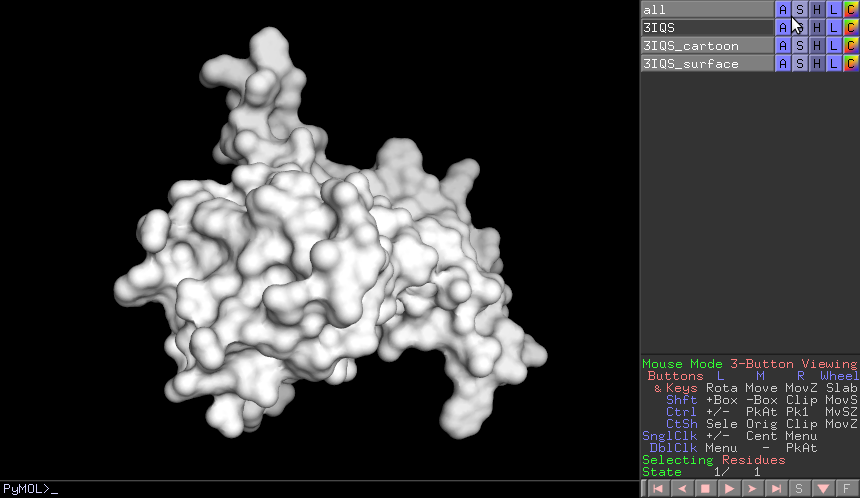
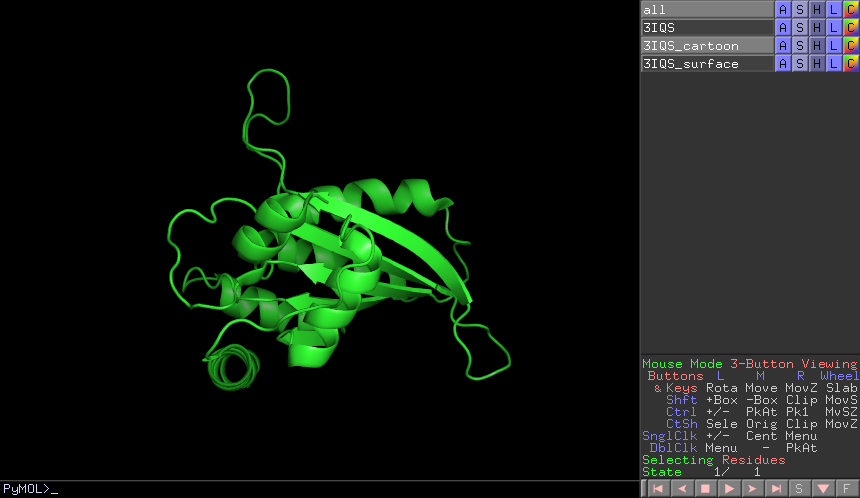
Load the PDB file 3IQS into PyMOL, duplicate it twice and rename the two new objects to "3IQS_cartoon" and "3IQS_surface" as shown in the image below:
- Step 2
Turn off the display of "3IQS_surface" as shown below:
- Step 3
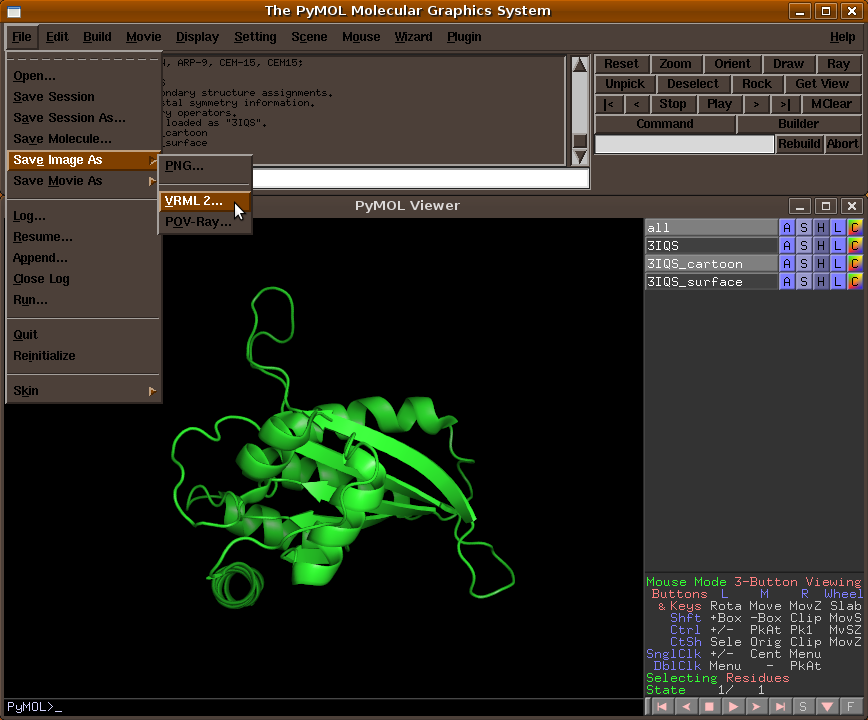
Save the displayed "3IQS_cartoon" as a VRML file, as shown below:
- Step 4
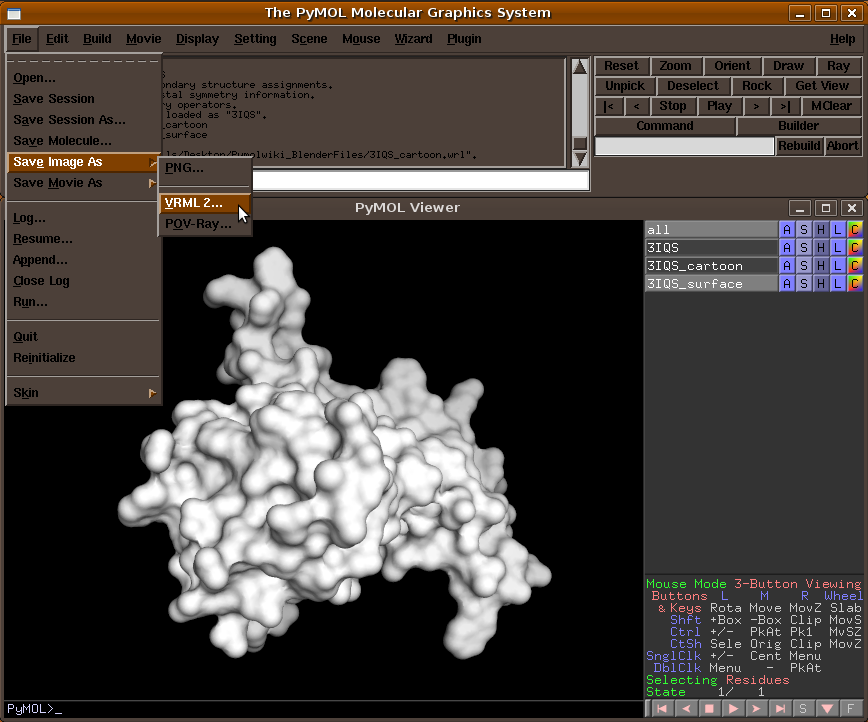
Hide the "3IQS_cartoon" and display the "3IQS_surface". Again, save the displayed "3IQS_surface" as a VRML file, as shown below:
- Step 5
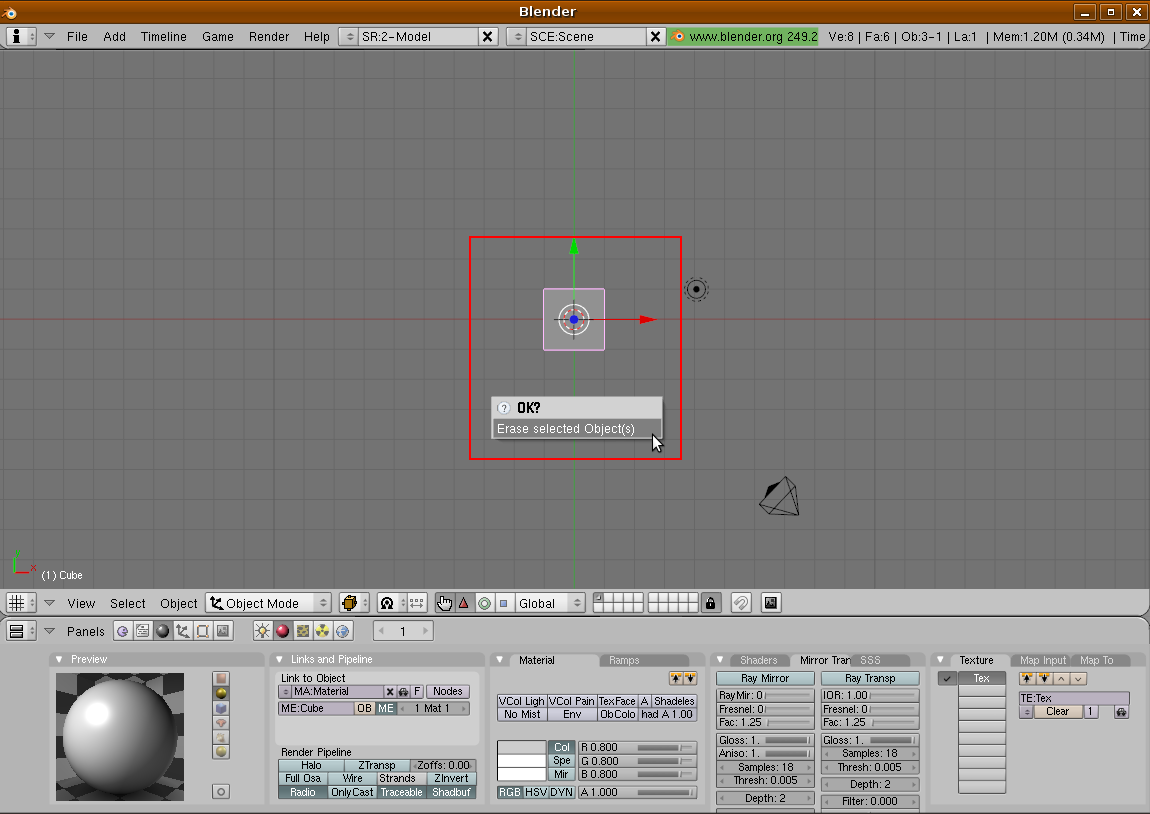
Start Blender (please see link in the Introduction to download and install). Assuming you are looking at the default scene and window layout, press 7 on numeric keypad and the view should change similar to the one below:
Now select the cube in the center of the screen by right clicking on it and then press ctrl-x to delete it. This will give you a clean scene to import the protein structure you just exported from PyMOL as VRML 2 (.wrl).
- Step 6
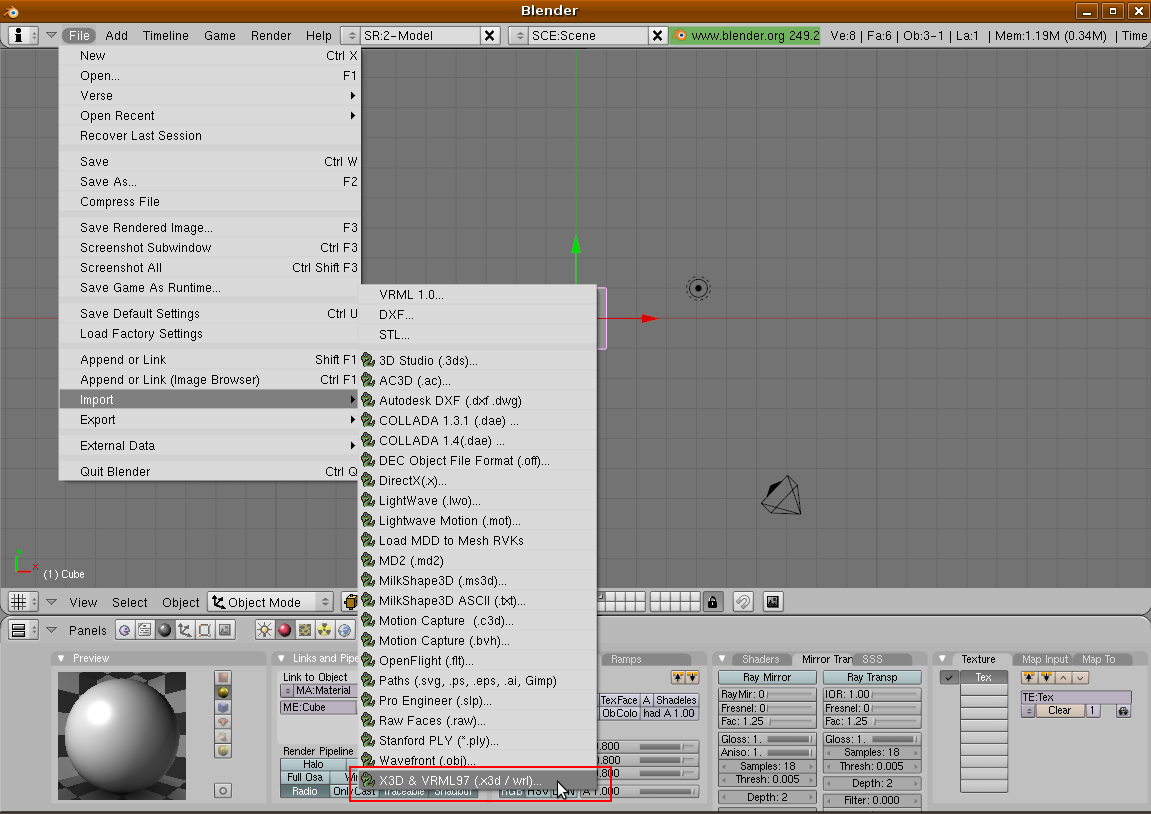
Now import the "3IQS_cartoon" into Blender by going to "File > Import > X3D & VRML97" as shown below:
- Step 7
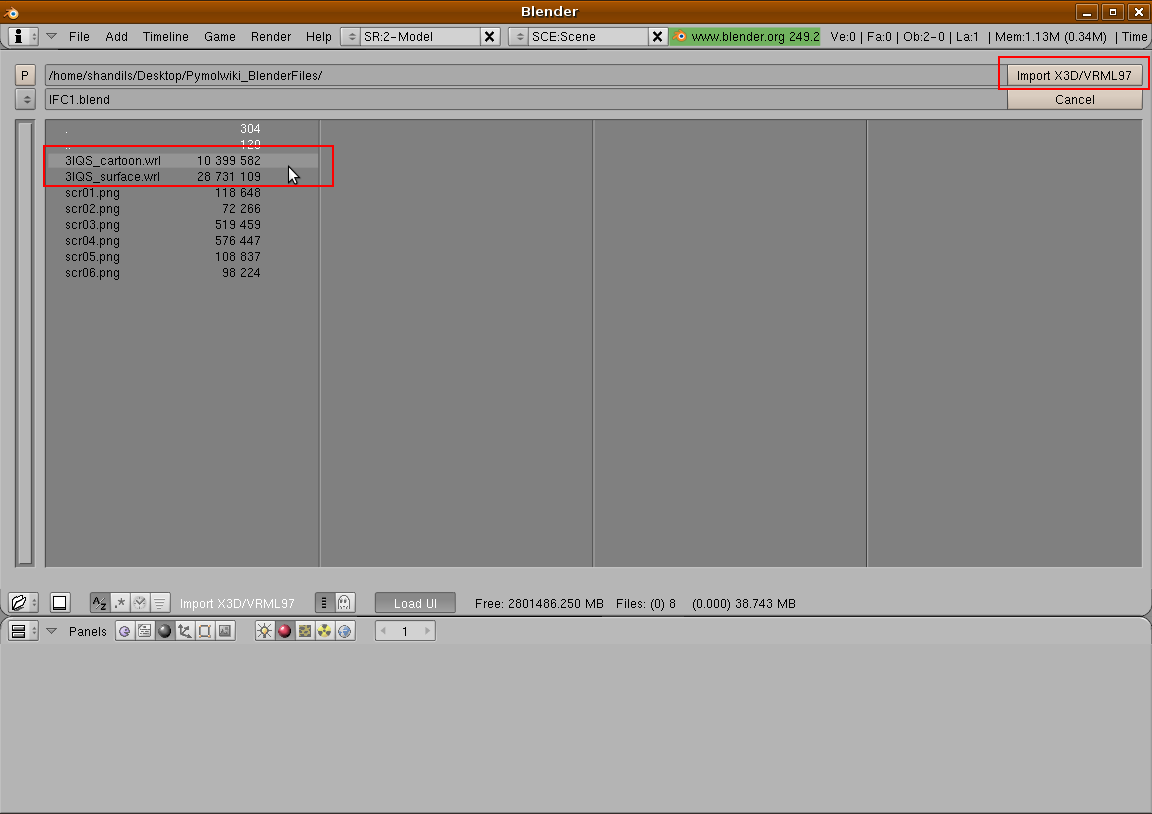
Navigate to the folder where you exported the VRML 2 files from PyMOL and select the "3IQS_cartoon" file, thusly:
Click the "Import X3D/VRML97" button after selecting the correct file and just click "OK" on the dialog that comes up.
- Step 8
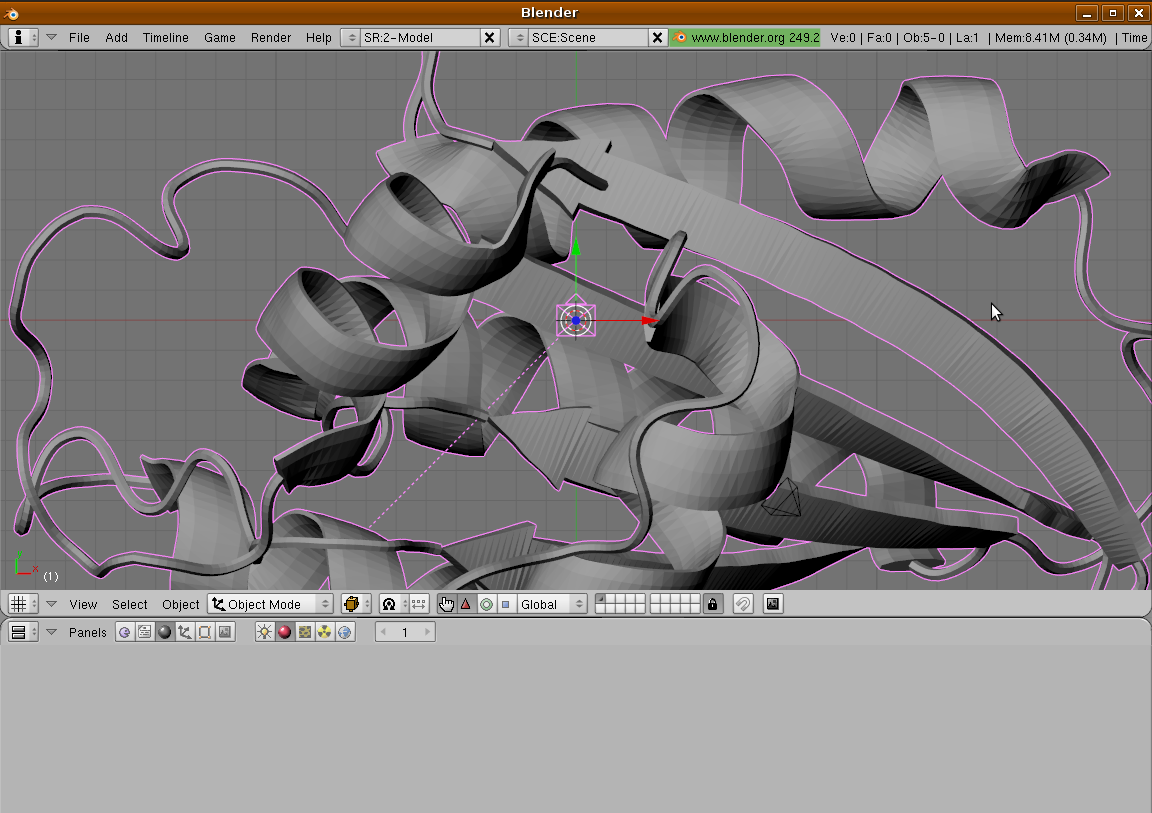
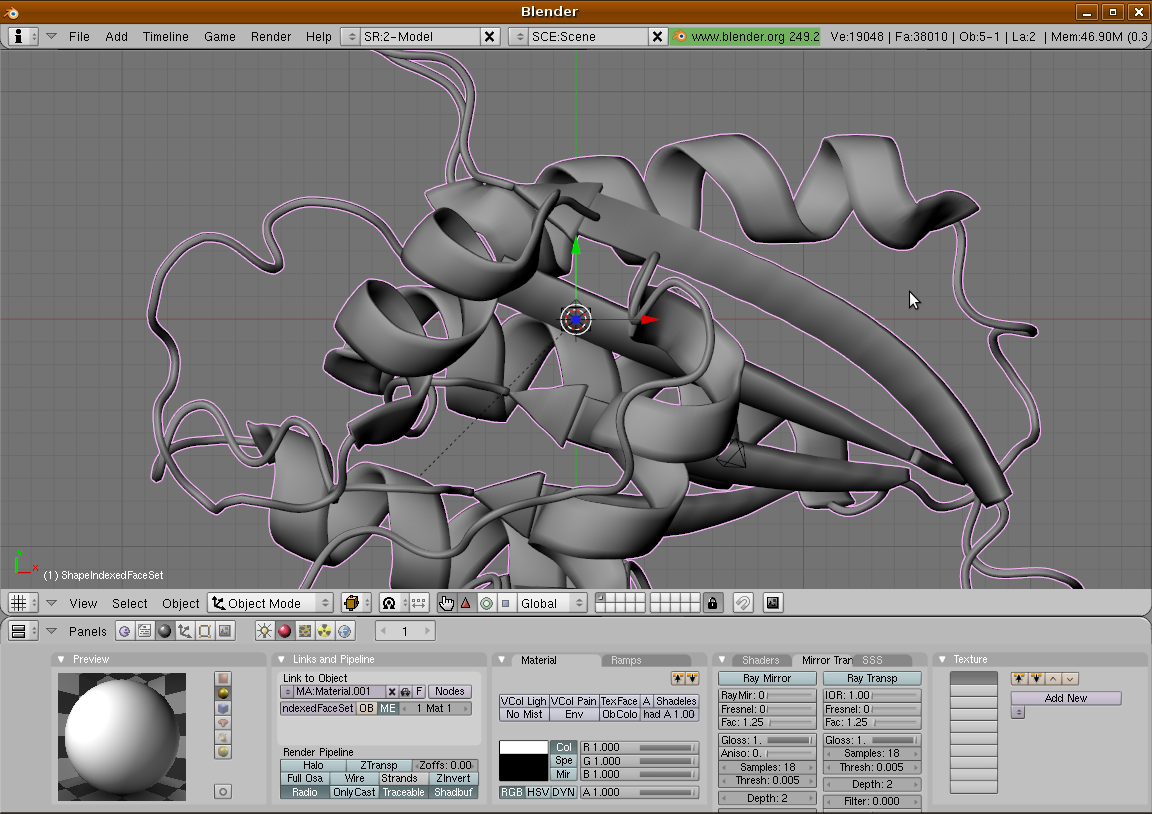
Doing the above should result in a display such as the one below:
- Step 9
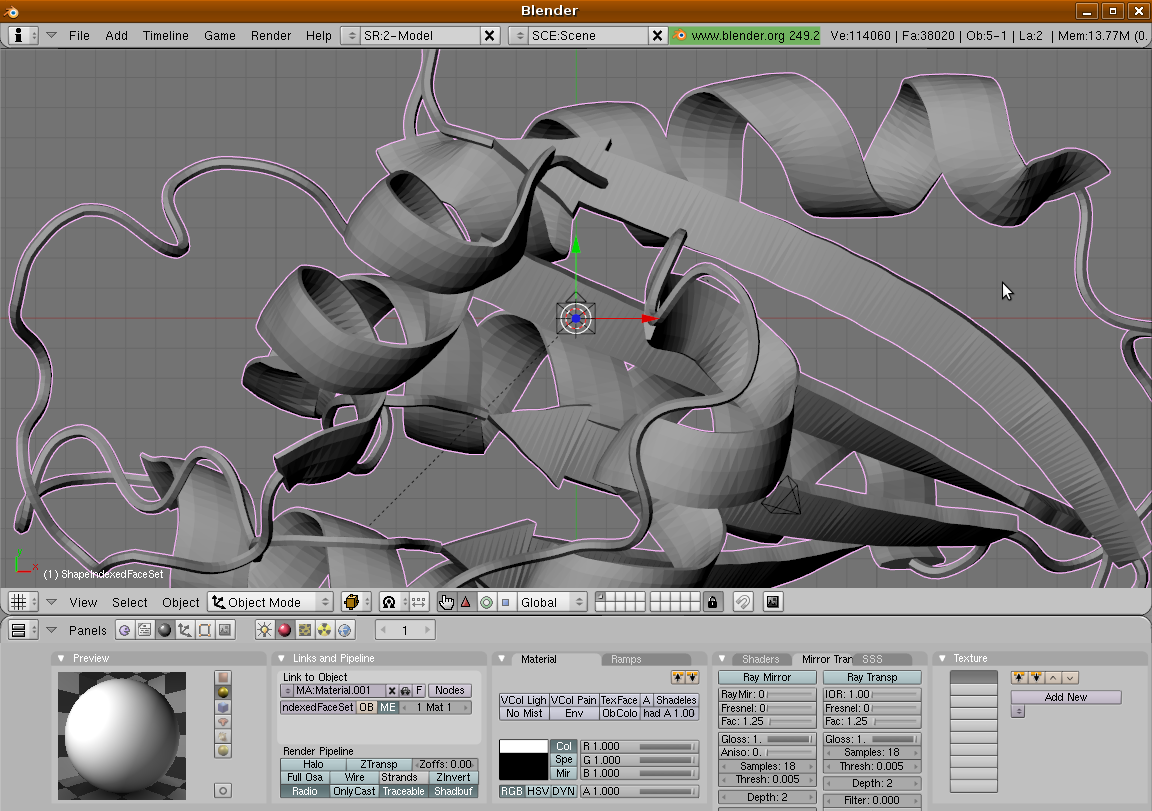
Now you need to select the just imported cartoon and just that only, so right click on it so that it is the only object selected in the view:
- Step 10
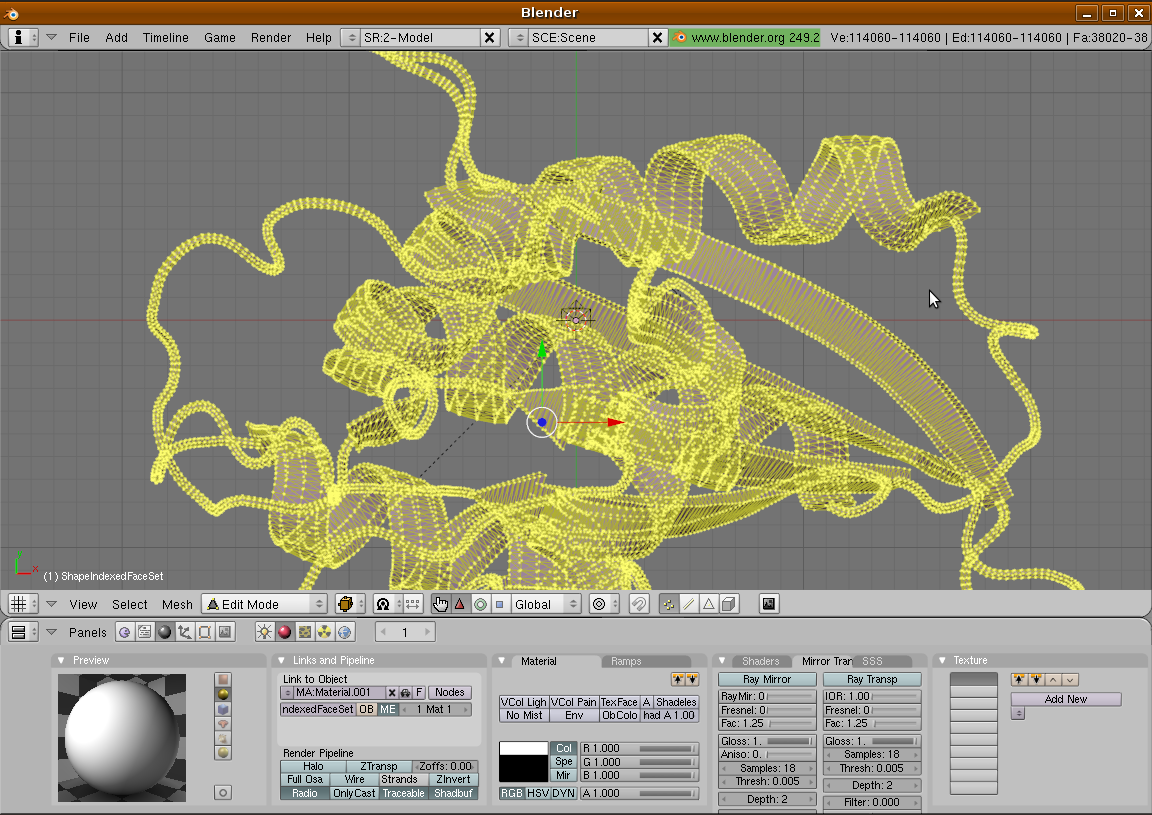
With the cartoon object selected, hit the 'Tab key on your keyboard to enter into "Edit mode" in Blender. All the vertices that make up this object will be selected and colored yellow, as shown below:
- Step 11
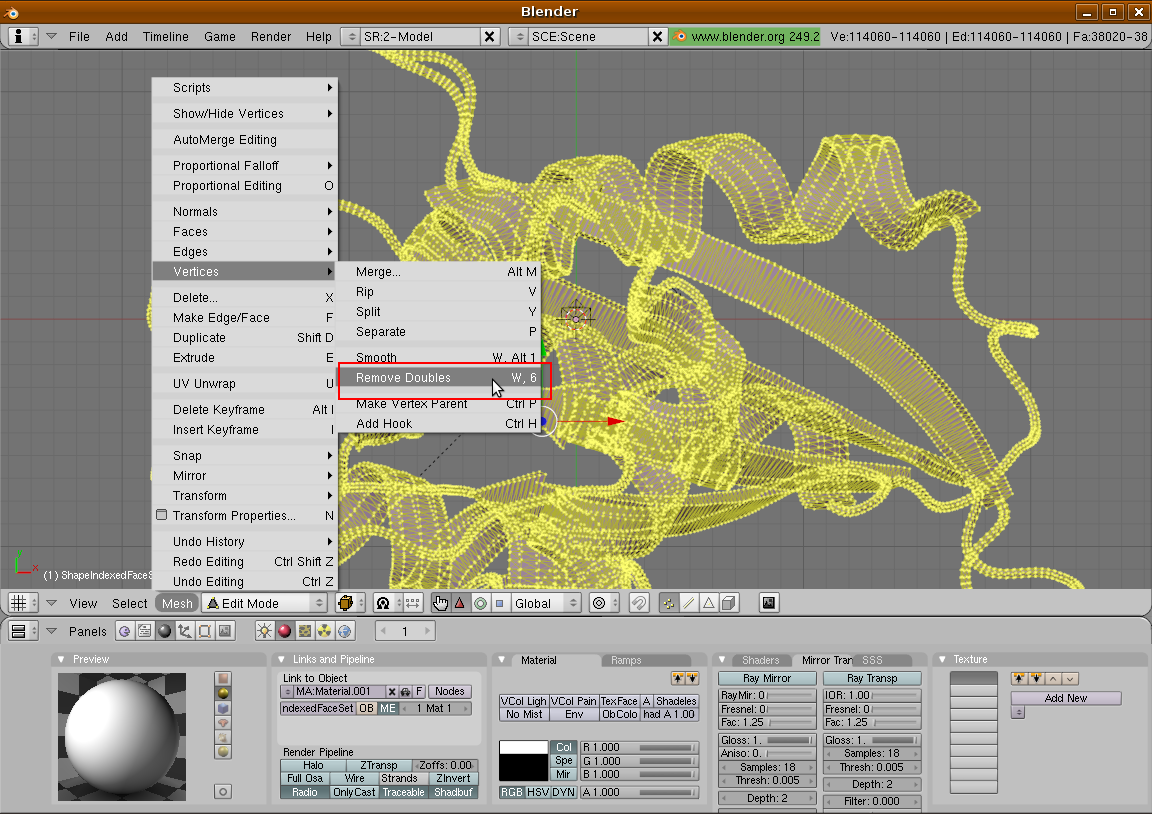
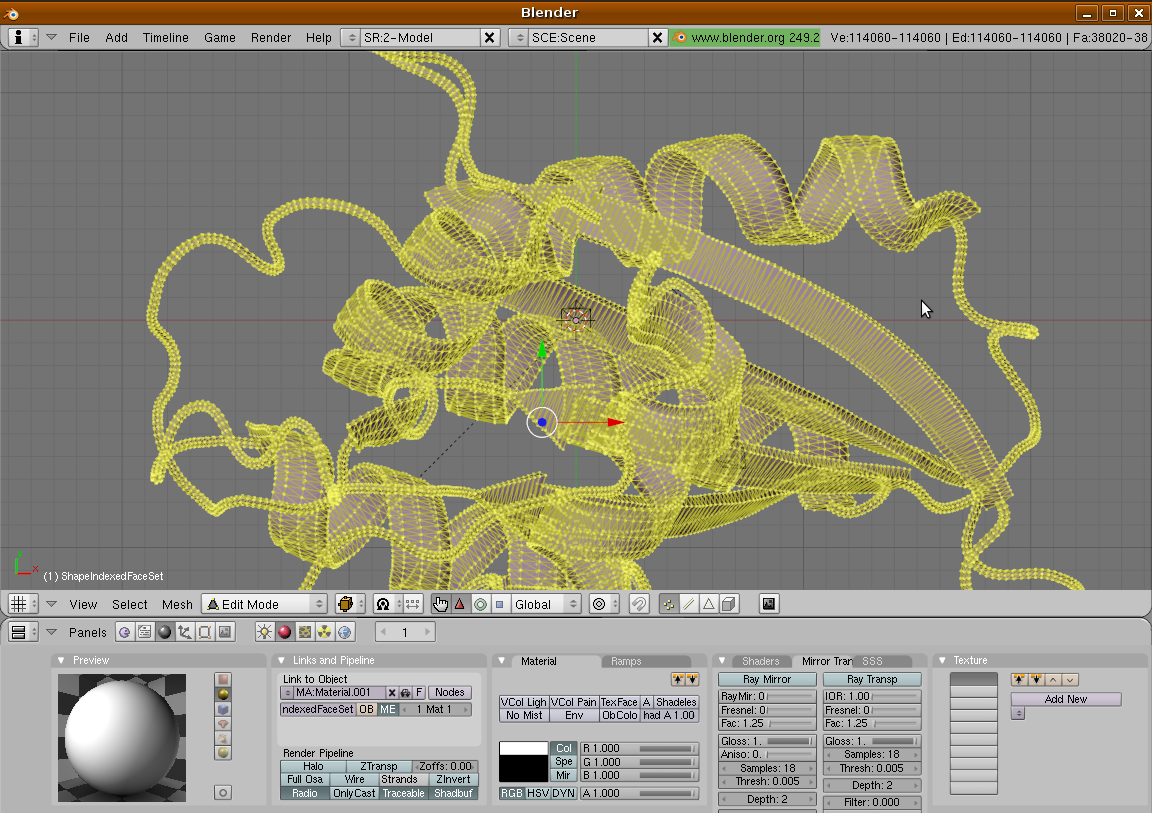
Now click on "Mesh > Vertices > Remove Doubles" in Blender to get rid of duplicate vertices, as shown in the two images below:
- Step 12
Now hit the 'Tab key again, to exit the "Edit mode" to see a nice smooth cartoon object:
- Step 13
References
- Blender : http://www.blender.org/
