Wfmesh: Difference between revisions
Jump to navigation
Jump to search
No edit summary |
PedroLacerda (talk | contribs) No edit summary |
||
| (14 intermediate revisions by 4 users not shown) | |||
| Line 1: | Line 1: | ||
{{Infobox script-repo | |||
|type = script | |||
|filename = scripts/wfmesh.py | |||
|author = [[User:Tmwsiy|Dan Kulp]] | |||
|license = - | |||
}} | |||
===DESCRIPTION=== | ===DESCRIPTION=== | ||
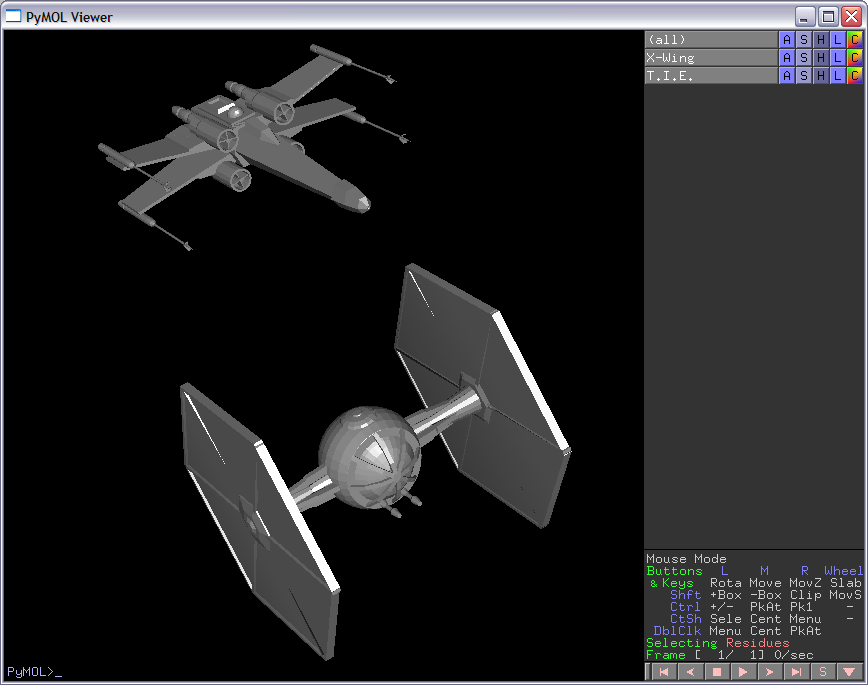
This script will create an object for any Wavefront(.OBJ) mesh file. This is a way to extend the number of objects you can use. Also, you have more control over the coloring, transformations, etc than the CGOs. Although there are a number of these obj files on the web, you can also easily created them with open source tools ([http://www.openfx.org OpenFX], [http://synapses.mcg.edu/tools/xroads/xroads.stm Crossroads3D]). It takes literally, 2 min to get an object created and then loaded into pymol. Simply open OpenFX Designer, click File->Insert->Model, then choose any of the models (or create your own of course!), then export it as .3ds file. Then open the .3ds file from Crossroads3D and export as Wavefront OBJ. | This script will create an object for any Wavefront(.OBJ) mesh file. This is a way to extend the number of objects you can use. Also, you have more control over the coloring, transformations, etc than the CGOs. Although there are a number of these obj files on the web, you can also easily created them with open source tools ([http://www.openfx.org OpenFX], [http://synapses.mcg.edu/tools/xroads/xroads.stm Crossroads3D]). It takes literally, 2 min to get an object created and then loaded into pymol. Simply open OpenFX Designer, click File->Insert->Model, then choose any of the models (or create your own of course!), then export it as .3ds file. Then open the .3ds file from Crossroads3D and export as Wavefront OBJ. | ||
| Line 5: | Line 12: | ||
===IMAGES=== | ===IMAGES=== | ||
[[Image:Starwars_pymol.png|thumb|left|Star Wars Anyone?]] | [[Image:Starwars_pymol.png|thumb|left|Star Wars Anyone?]] | ||
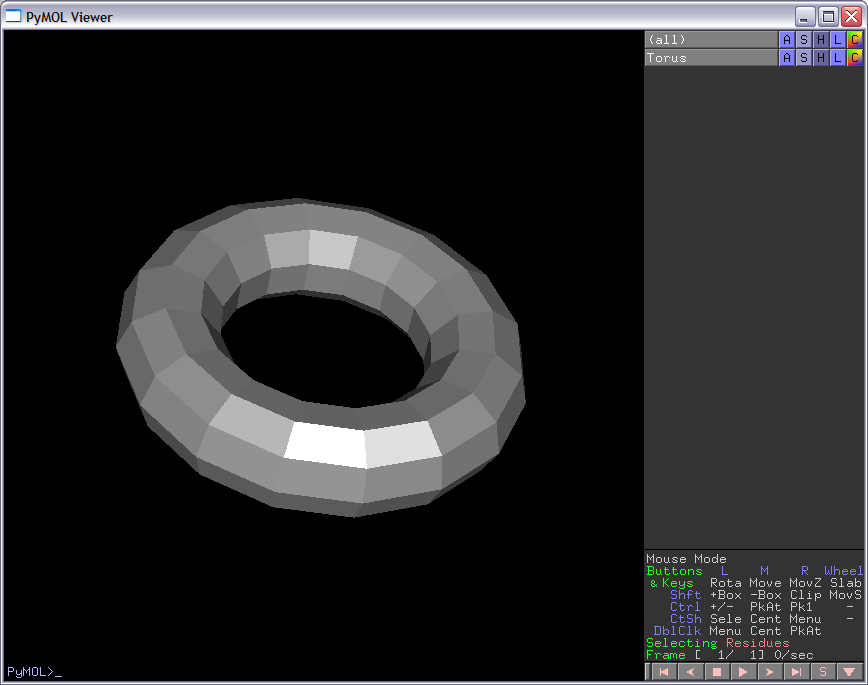
[[Image:Torus_pymol.png|thumb|left|A Torus, as an example shape you could do. Notice polygon normals are being used...need smoothing!]] | [[Image:Torus_pymol.png|thumb|left|A Torus, as an example shape you could do. Notice polygon normals are being used...need smoothing!]] | ||
===SETUP=== | ===SETUP=== | ||
Simply " | Simply "import wfmesh.py" | ||
===NOTES / STATUS=== | ===NOTES / STATUS=== | ||
| Line 37: | Line 27: | ||
*Post problems in the discussion page, on 'my talk' page or just email me : dwkulp@mail.med.upenn.edu | *Post problems in the discussion page, on 'my talk' page or just email me : dwkulp@mail.med.upenn.edu | ||
===EXAMPLES=== | |||
import wfmesh | |||
cd /home/tlinnet/Software/pymol/Pymol-script-repo/files_for_examples | |||
wfmesh.createWFObj('torus.obj','Torus',flip=1) # Flip = 1, if OBJ created by openFX, crossroads3D combination | |||
wfmesh.createWFObj("torus.obj","Torus2",translate=[5,5,0], flip=1) | |||
wfmesh.createWFObj("ship.obj","Ship") | |||
===REFERENCES=== | ===REFERENCES=== | ||
[http://www.openfx.org OpenFX] | [http://www.openfx.org OpenFX] | ||
[http://synapses.mcg.edu/tools/xroads/xroads.stm Crossroads3D] | [http://synapses.mcg.edu/tools/xroads/xroads.stm Crossroads3D] | ||
===ADDITIONAL RESOURCES=== | ===ADDITIONAL RESOURCES=== | ||
| Line 242: | Line 44: | ||
[[Category:Script_Library|WFMesh]] | [[Category:Script_Library|WFMesh]] | ||
[[Category:ThirdParty_Scripts]] | |||
[[Category:Pymol-script-repo]] | |||
Latest revision as of 22:15, 22 June 2025
| Type | Python Script |
|---|---|
| Download | scripts/wfmesh.py |
| Author(s) | Dan Kulp |
| License | - |
| This code has been put under version control in the project Pymol-script-repo | |
DESCRIPTION
This script will create an object for any Wavefront(.OBJ) mesh file. This is a way to extend the number of objects you can use. Also, you have more control over the coloring, transformations, etc than the CGOs. Although there are a number of these obj files on the web, you can also easily created them with open source tools (OpenFX, Crossroads3D). It takes literally, 2 min to get an object created and then loaded into pymol. Simply open OpenFX Designer, click File->Insert->Model, then choose any of the models (or create your own of course!), then export it as .3ds file. Then open the .3ds file from Crossroads3D and export as Wavefront OBJ.
- createWFMesh - create a mesh object from Wavefront (*.obj) formated file
IMAGES
SETUP
Simply "import wfmesh.py"
NOTES / STATUS
- Tested on Pymolv0.97, Windows platform, should work on linux as well.
- Coloring is fixed for grey and sections of mesh are stored, but not used.
- Simple opengl calls; not optimized (display lists, etc) or anything.
- Vertex Normal code is broken, so normals are per polygon right now.
- Post problems in the discussion page, on 'my talk' page or just email me : dwkulp@mail.med.upenn.edu
EXAMPLES
import wfmesh
cd /home/tlinnet/Software/pymol/Pymol-script-repo/files_for_examples
wfmesh.createWFObj('torus.obj','Torus',flip=1)    # Flip = 1, if OBJ created by openFX, crossroads3D combination
wfmesh.createWFObj("torus.obj","Torus2",translate=[5,5,0], flip=1)
wfmesh.createWFObj("ship.obj","Ship")
REFERENCES
ADDITIONAL RESOURCES
Torus.obj Torus.zip

