Antialias: Difference between revisions
Jump to navigation
Jump to search
No edit summary |
No edit summary |
||
| (One intermediate revision by the same user not shown) | |||
| Line 4: | Line 4: | ||
== Examples == | == Examples == | ||
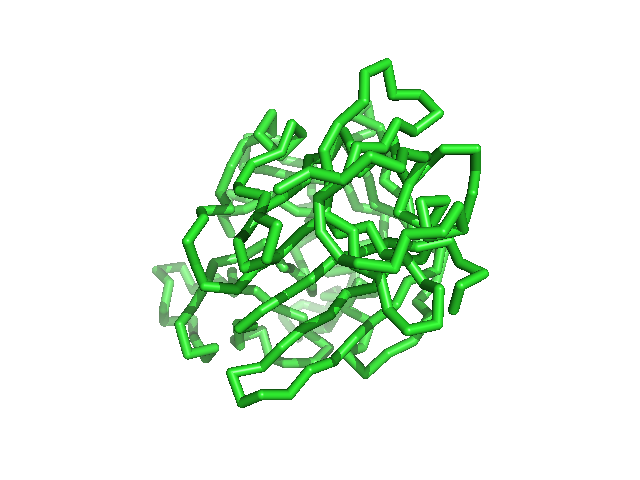
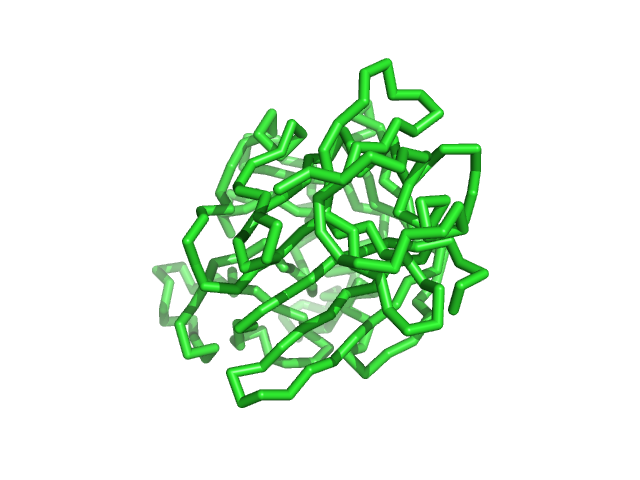
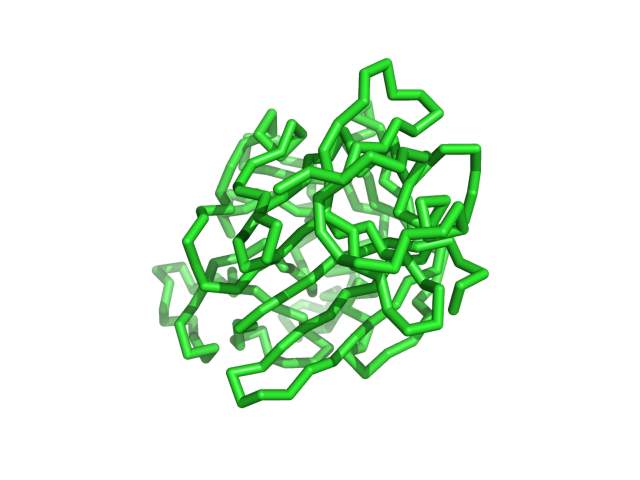
Notice the overall '''quality''' of the images improves as the antialiasing setting is increased. Click each image to see the high-resolution version; the small image doesn't show the differences in AA settings so well. | Notice the overall '''quality''' of the images improves as the antialiasing setting is increased. Click each image to see the high-resolution version; the small image doesn't show the differences in AA settings so well. | ||
<gallery> | |||
Image:Aa0.png|AA set to 0 | |||
Image:Aa1.png|AA set to 1 | |||
Image:Aa2.png|AA set to 2 | |||
</gallery> | |||
== Syntax == | == Syntax == | ||
| Line 29: | Line 16: | ||
set antialias,2 # higher setting, better image quality | set antialias,2 # higher setting, better image quality | ||
</source> | </source> | ||
[[Category:Settings|Antialias]] | |||
[[Category:Publication_Quality|Antialias]] | |||
[[Category:Image_Manipulation|Antialias]] | |||
Latest revision as of 17:10, 2 November 2007
Overview
The antialias setting in pymol controls the level of antialiasing that pymol does in the ray-tracing routine. Higher numbers take longer to ray trace but provide much smoother and better looking images.
Examples
Notice the overall quality of the images improves as the antialiasing setting is increased. Click each image to see the high-resolution version; the small image doesn't show the differences in AA settings so well.
Syntax
set antialias,0  # low setting/off
set antialias,2  # higher setting, better image quality


